
Статья: DIY Gutter Guard Installation: A Step-by-Step Guide for Easy Setup
DIY Gutter Guard Installation: A Step-by-Step Guide for Easy Setup
DIY Gutter Guard Installation: A Step-by-Step Guide for Easy Setup
Installing a gutter guard can greatly improve the efficiency of your home's drainage system. This DIY gutter guard installation guide is designed to help you tackle the project with confidence and ease, ensuring that you keep your gutters free from debris while enhancing their longevity.
When it comes to protecting your home from water damage, a proper gutter setup is essential. With the right tools and a little determination, you can achieve the perfect DIY gutter guard installation to safeguard your property. Follow this step-by-step guide to complete the installation process efficiently.
Why Choose DIY Gutter Guard Installation?
Opting for DIY gutter guard installation has numerous benefits. Here are some key advantages:
- Cost-effective: Save money on professional installation costs.
- Convenience: Complete the project on your timetable, avoiding the hassle of scheduling with installers.
- Personal Satisfaction: Take pride in completing a home improvement project yourself.
- Customizable Options: Choose gutter guards that best suit your specific needs and preferences.
Gathering Materials for a Smooth Installation
Before you begin your DIY gutter guard installation, it's important to gather all necessary materials and tools.
- Gutter guards (mesh, screen, or foam types)
- Measuring tape
- Hand saw or tin snips
- Power drill with bits
- Safety goggles and gloves
Steps for Successful DIY Gutter Guard Installation

1. Safety First
Ensure you wear safety goggles and gloves throughout the installation to protect yourself from debris and sharp edges.
2. Measure Your Gutters
Use a measuring tape to determine the lengths of your gutters. This will help you cut the gutter guard to size accurately.
3. Cut the Gutter Guards
Based on your measurements, cut the gutter guards to fit your gutters precisely. For most materials, a hand saw or tin snips will do the job effectively.
4. Clean Your Gutters
Before installing the gutter guards, thoroughly clean the gutters. Remove any debris, leaves, or objects that could hinder the performance of the guards.
5. Install the Gutter Guards

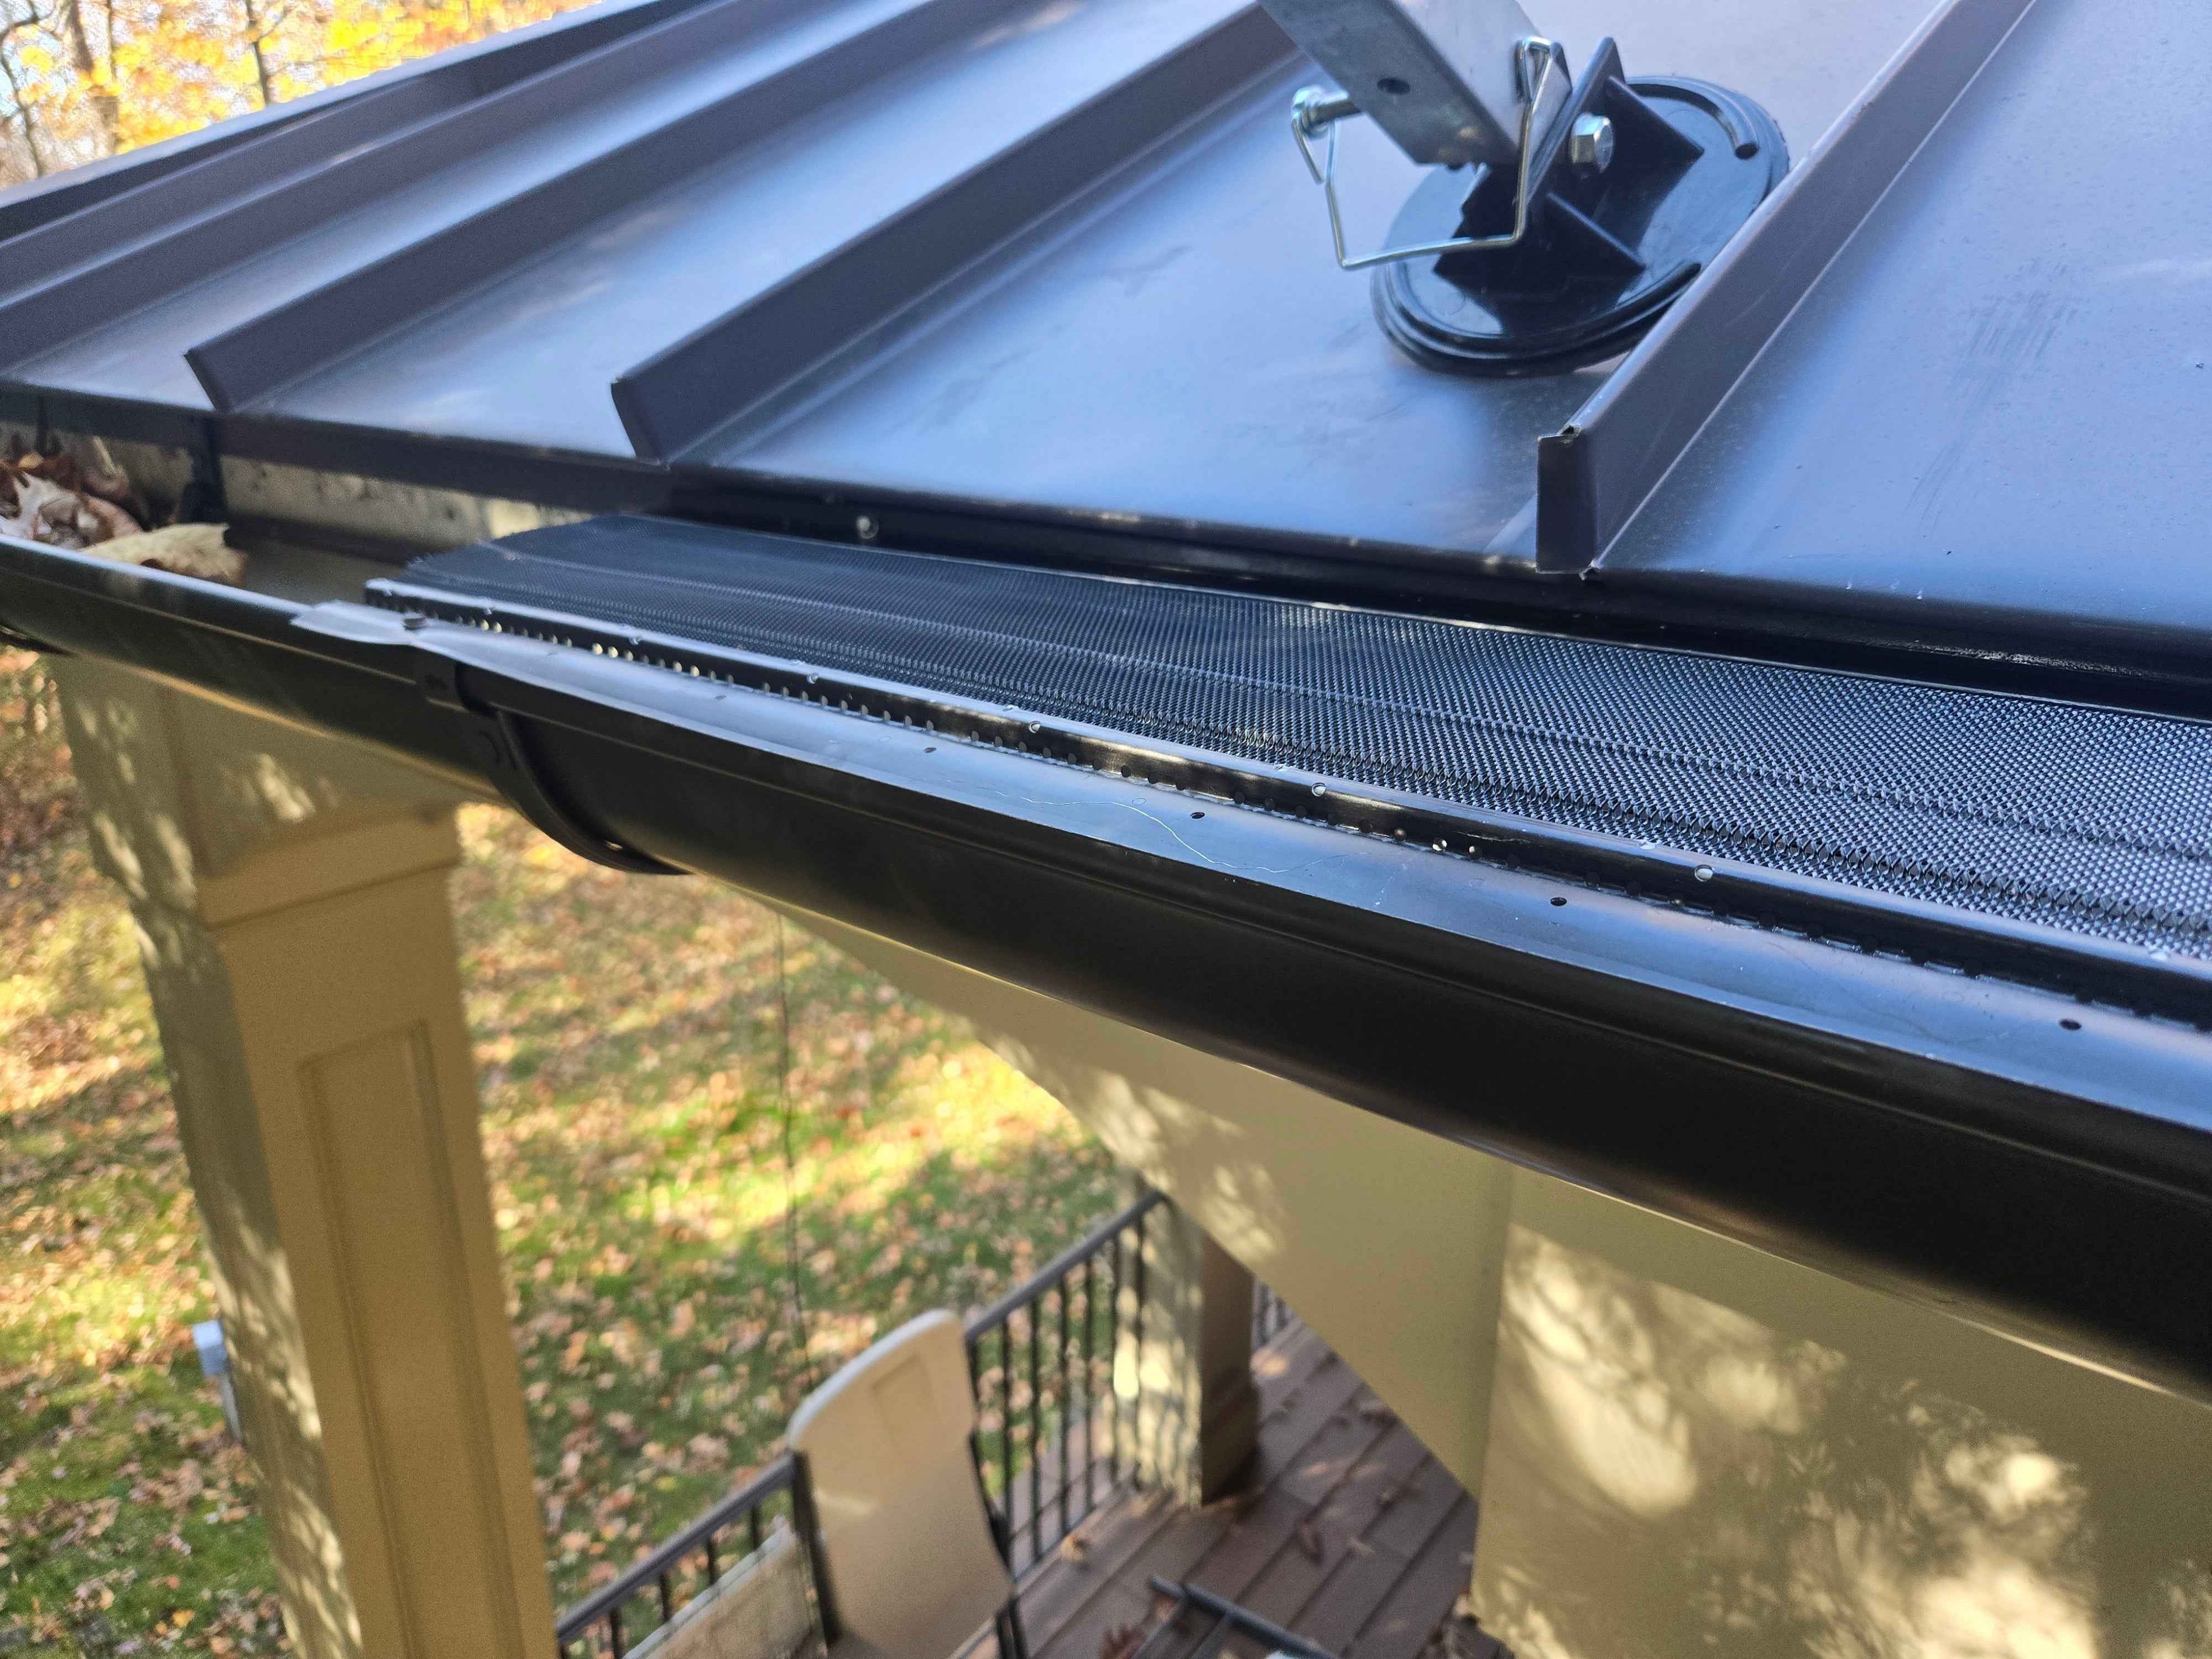
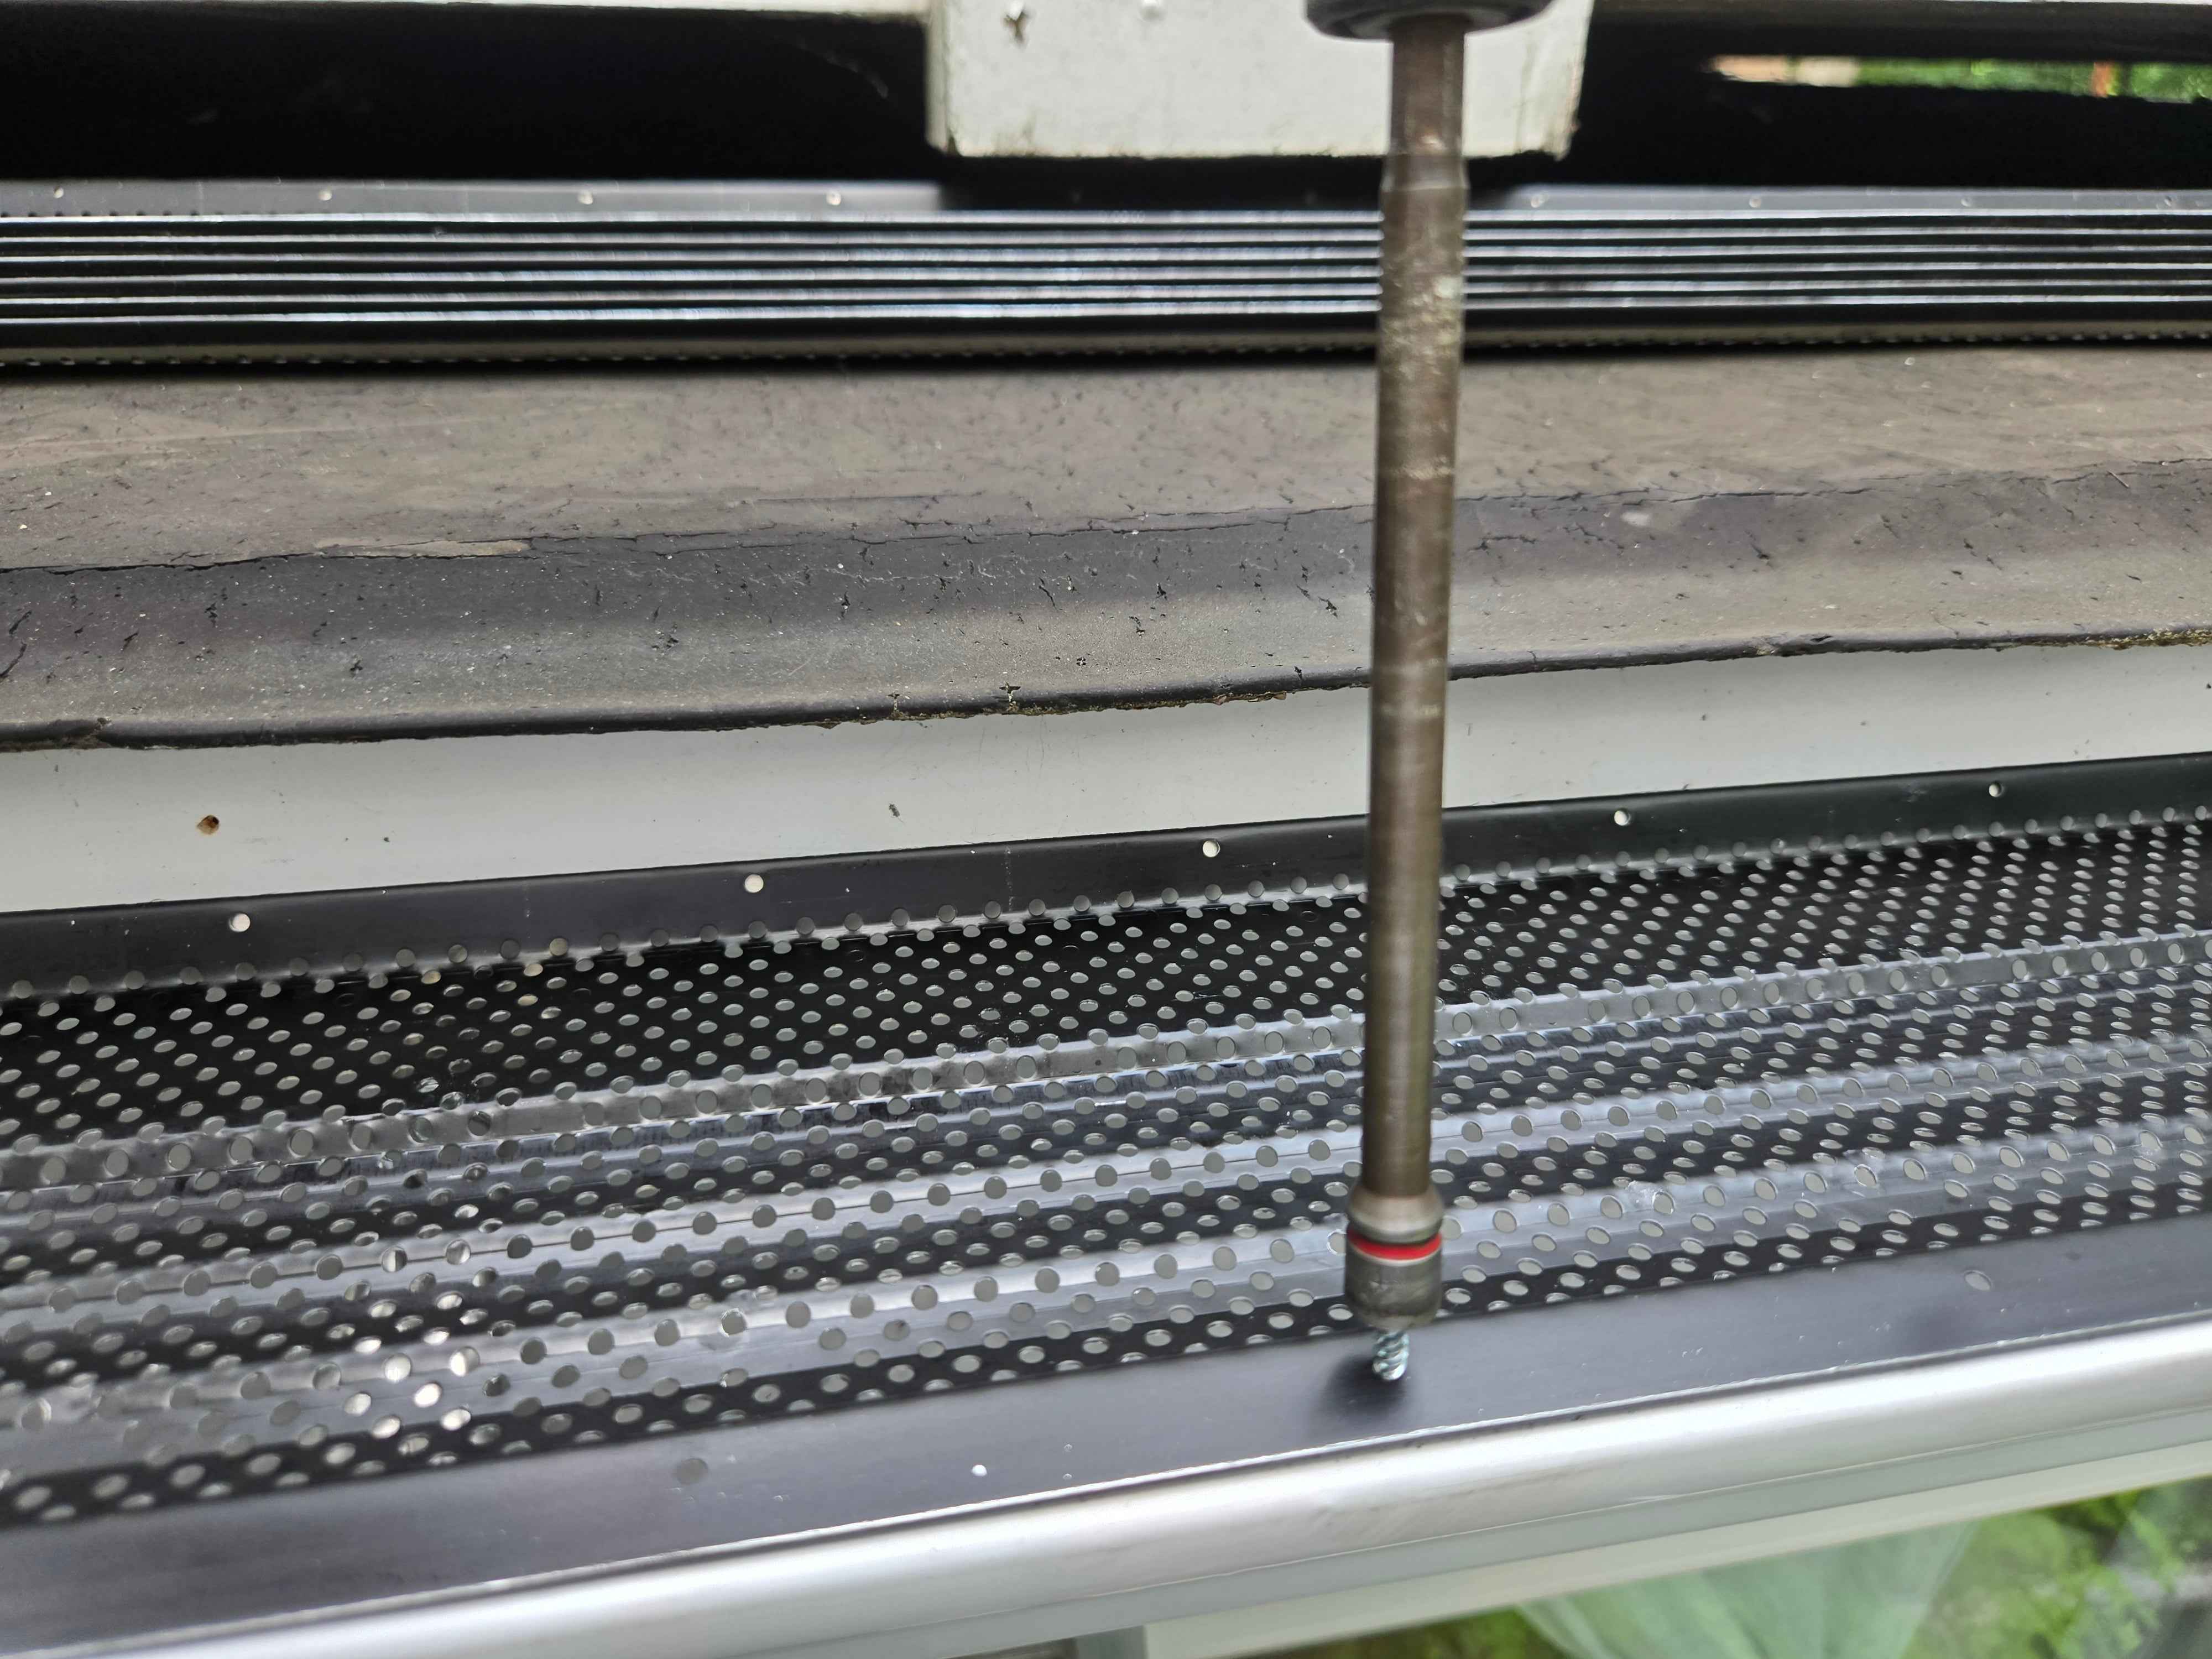
Position the gutter guards on top of your gutters, ensuring they fit snugly. Depending on the type of guard you're using, secure them in place with screws or adhesive as directed by the manufacturer.
6. Check and Test
Once installed, visually inspect each section of your gutter guard system. Afterward, test the system with water to ensure that it directs runoff into your gutters effectively.
Maintaining Your Gutter Guards
- Periodically check for blockages or signs of damage, especially after heavy storms.
- Clean your guards as needed to prevent buildup, allowing continuous water flow.
- Inspect for secure fittings and replace any damaged sections promptly.
Final Thoughts
Completing your own DIY gutter guard installation can be a fulfilling task that yields significant benefits for both your home and peace of mind. Visit our store to find a variety of gutter guards that will help protect your property for years to come.